Validate a functional LT service (at technical/metadata level)
When you have been assigned to validate a functional service, at the technical/metadata level, you will receive a notification via email. To access the validation form, log in at the ELG platform and select “Administration” at the menu that pops up when you click on the dashboard icon:
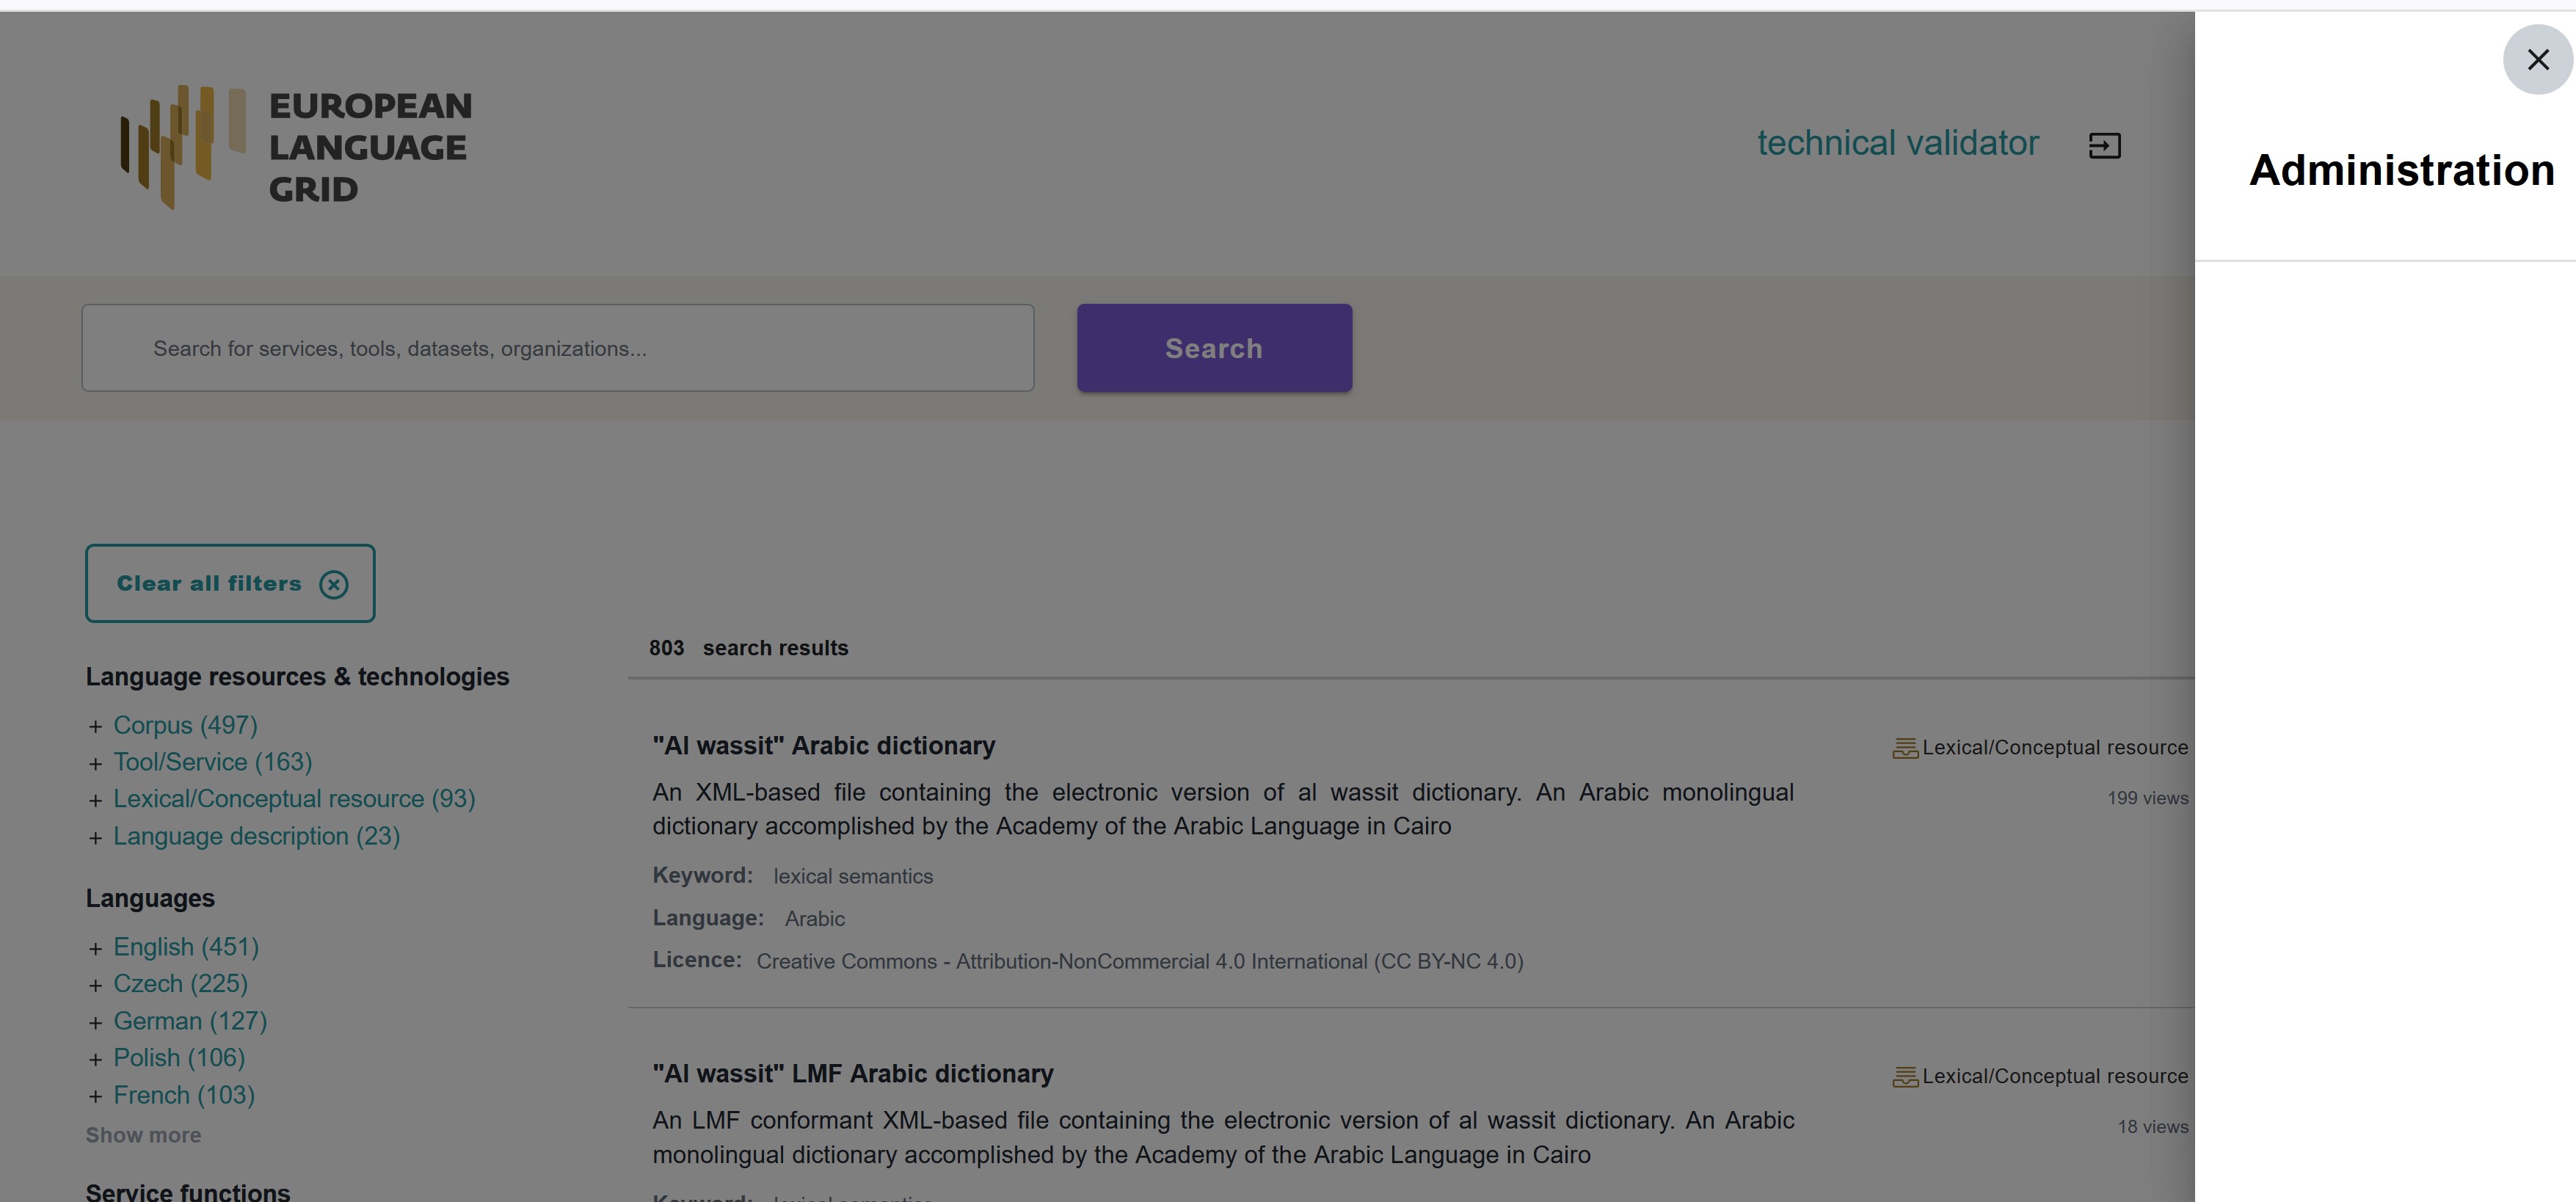
You will be re-directed to the backend administration pages.
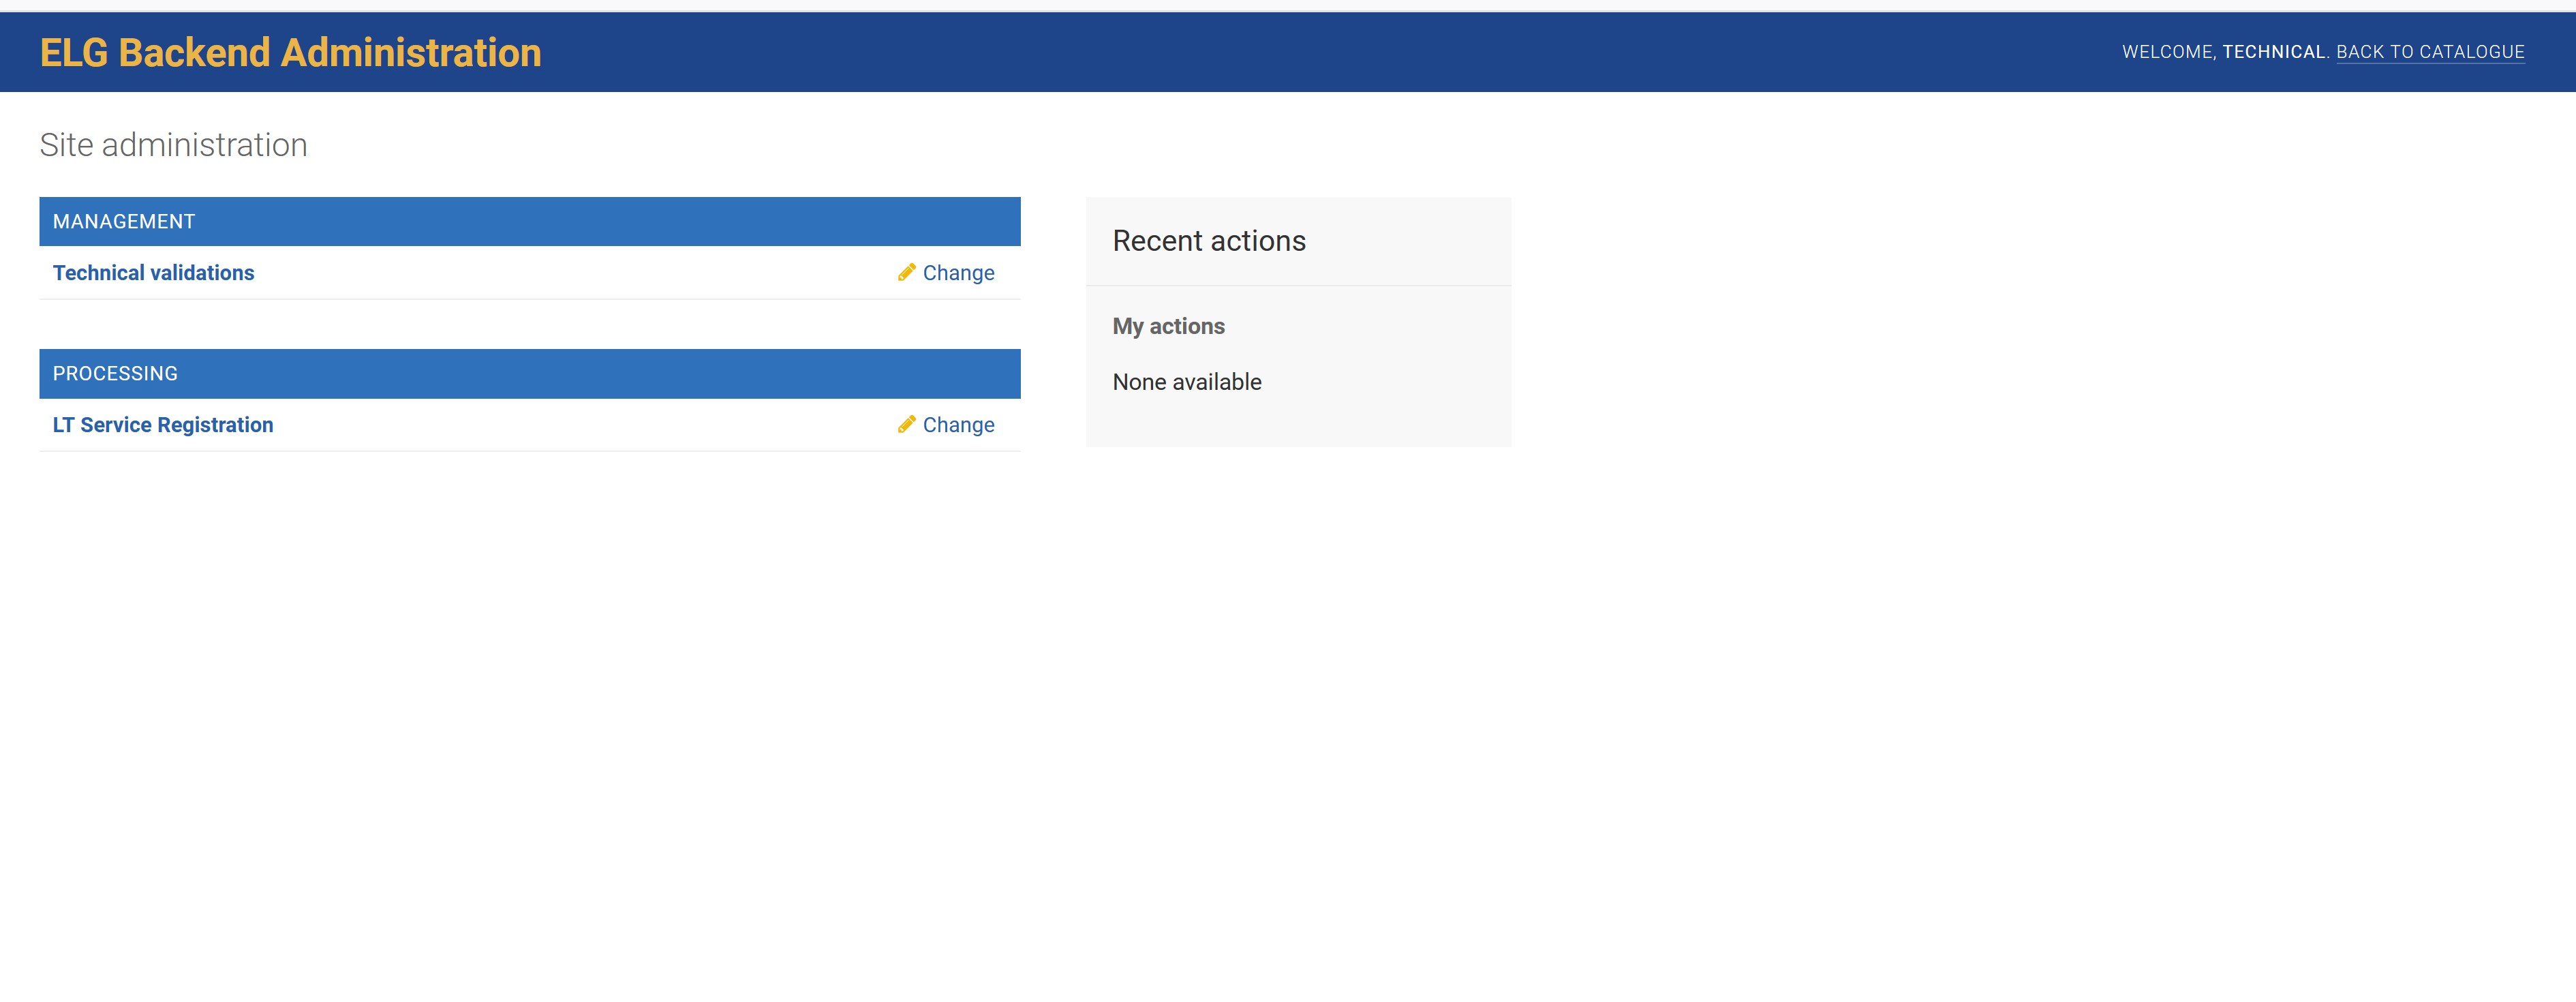
Click on Technical validations to view the catalogue of metadata records that have been assigned to you:
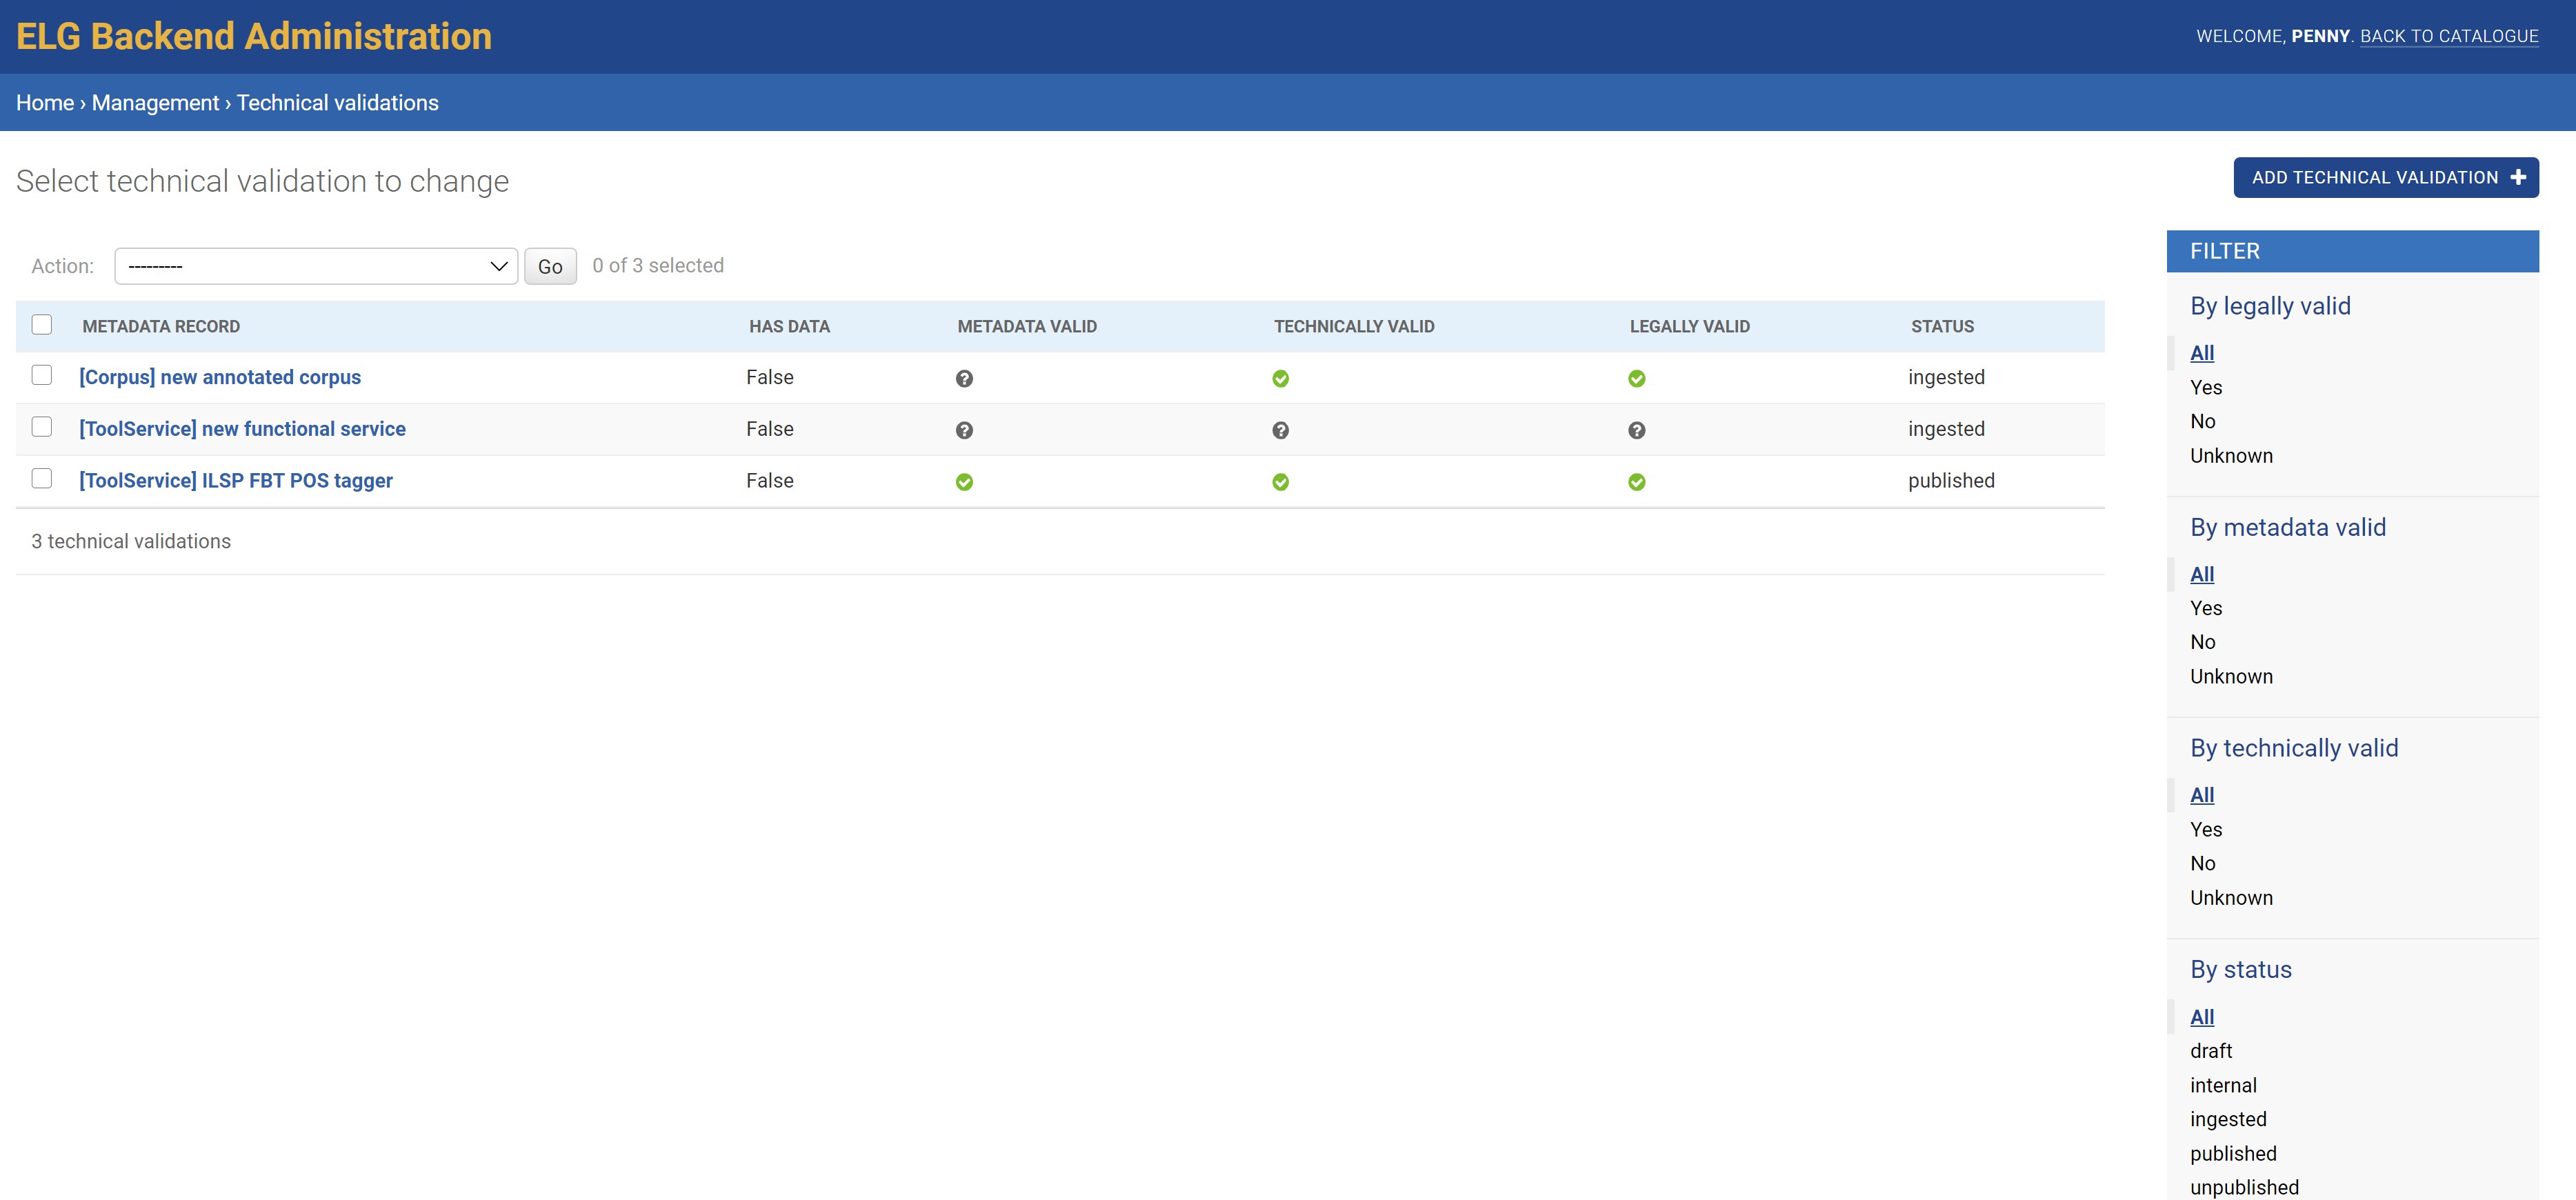
Click on the title of the metadata record that you have been assigned to access the validation form:
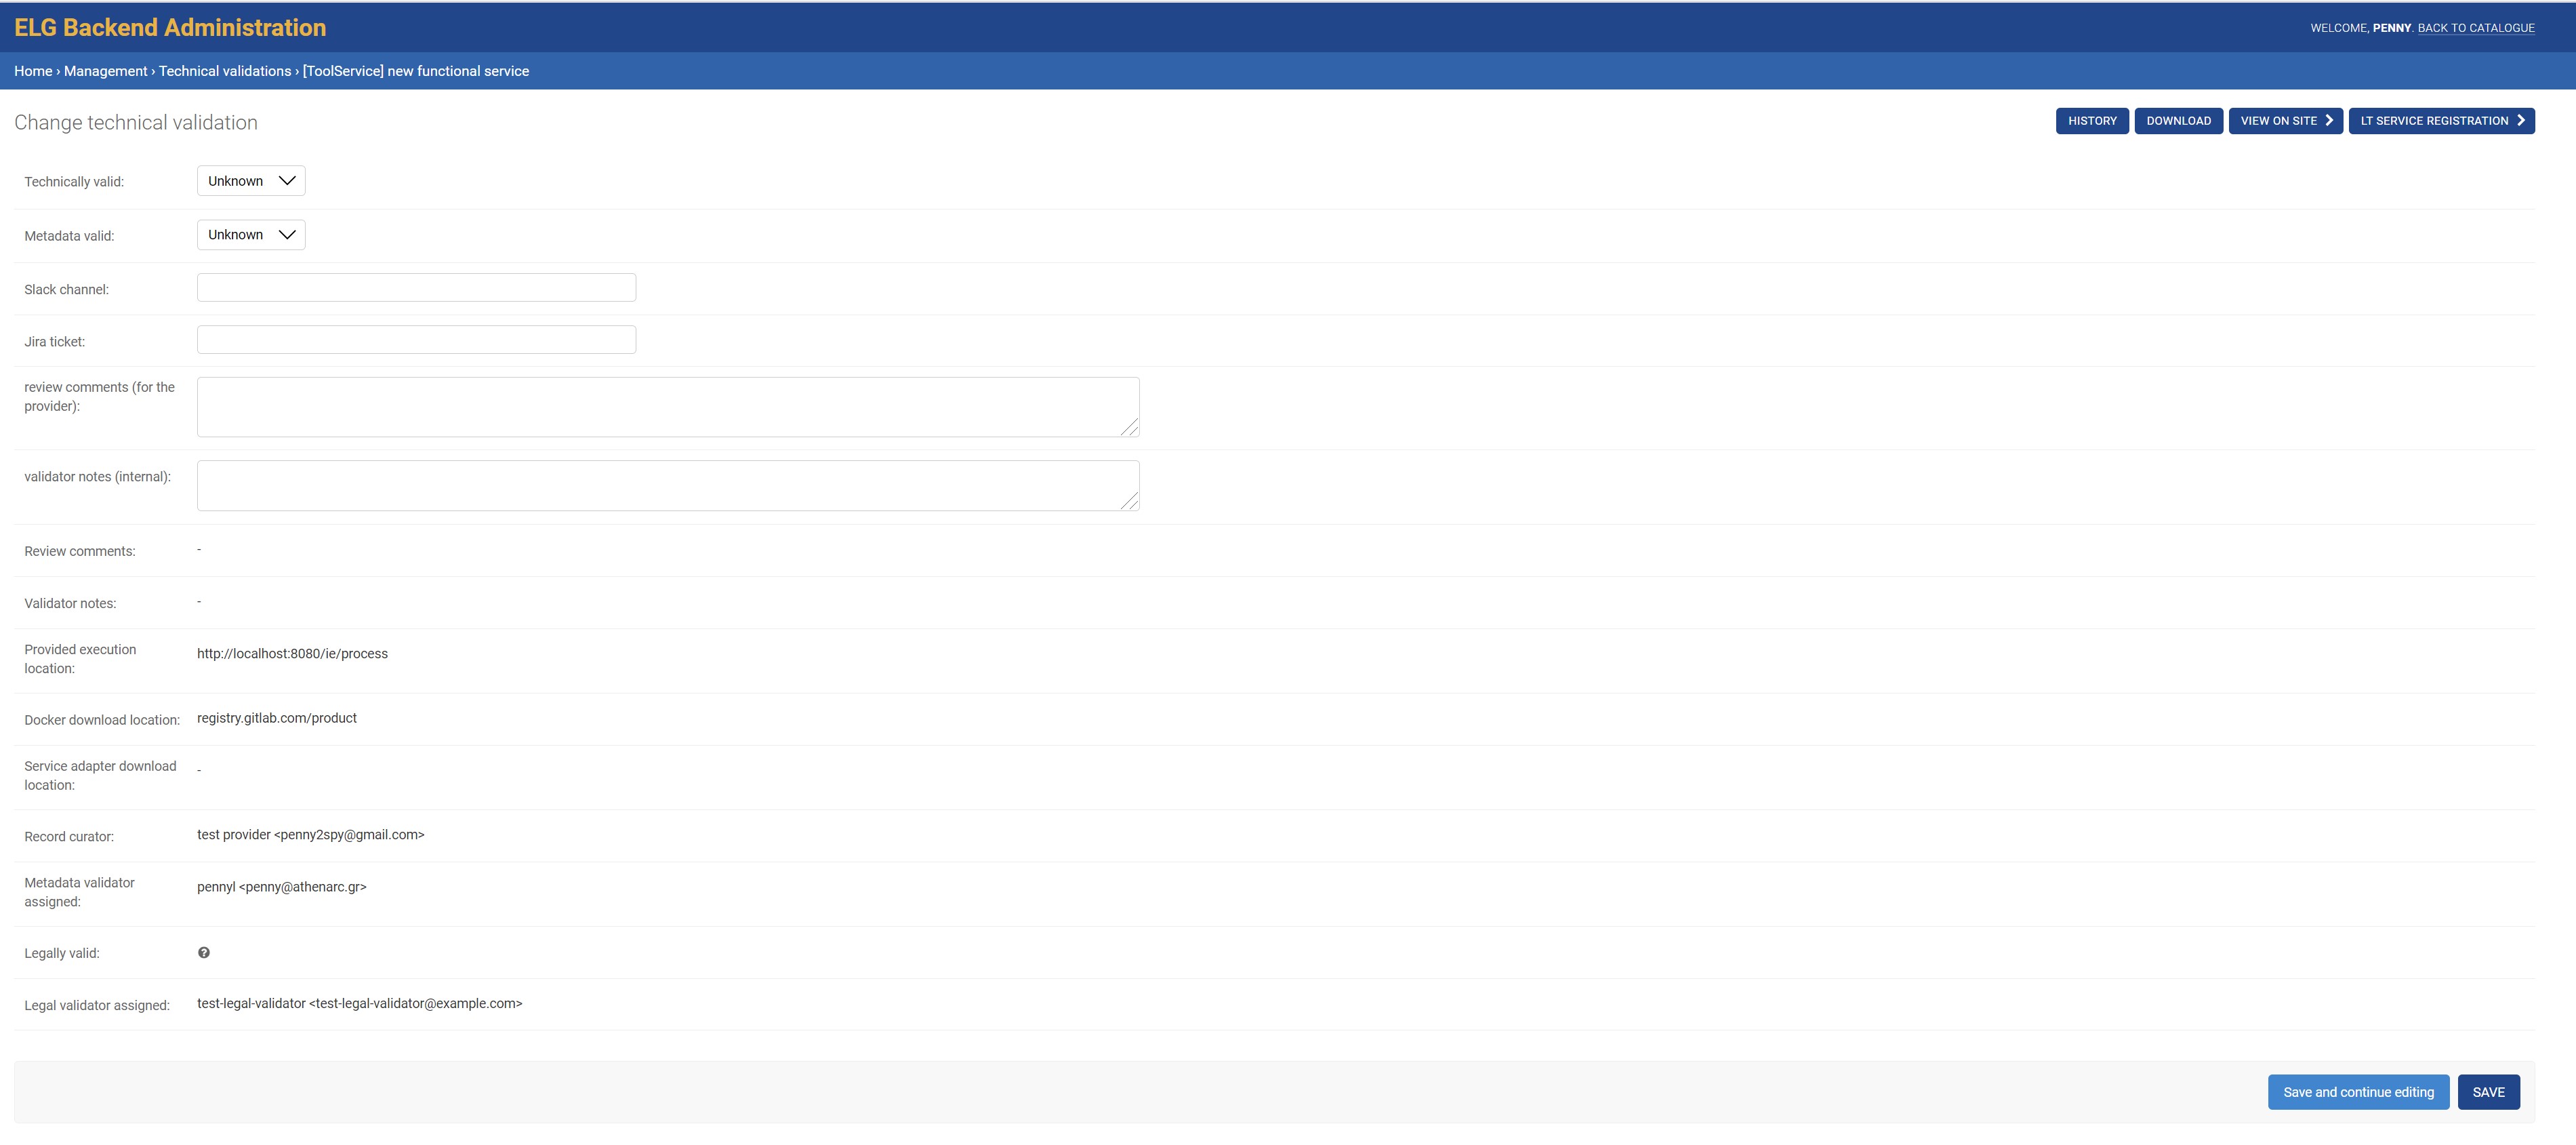
On this form, the values of Technically valid and Metadata valid fields are set to Uknnown; do not change them yet.
Fill in the Slack channel and Jira ticket fields and click on “Save” at the right bottom corner of the page.
Before filling-in the rest of the validation form, you must first:
Deploy the LT service into the ELG kubernetes cluster: For this you have to create the required yaml file in the respective GitLab repository and branch; e.g. https://gitlab.com/european-language-grid/platform/infra/-/blob/master/elg-srv/srv/dev/srv-legal-er-dfki.yaml file on master branch. To create the yaml file, you will need the
docker_download_location,service_adapter_download_location,execution_locationmetadata element values, that you will find on the form. When the yaml file is commited/pushed, the automatic CI/CD deployment pipeline of ELG will be notified and install the LT service to the respective kubernetes cluster; for instance, the master branch is used for the production ELG cluster, while the develop branch is used for the development cluster. You will also need access to the cluster so that you can check which containers/pods are running, inpect the logs and statuses of the containers, etc.; for this, you will receive the required information and credentials from the ELG technical team.Register/integrate the running LT service at the ELG catalogue: Click on the “LT Service Registration” button at the right top corner of the validation form.
The form will open at a new tab of your browser:
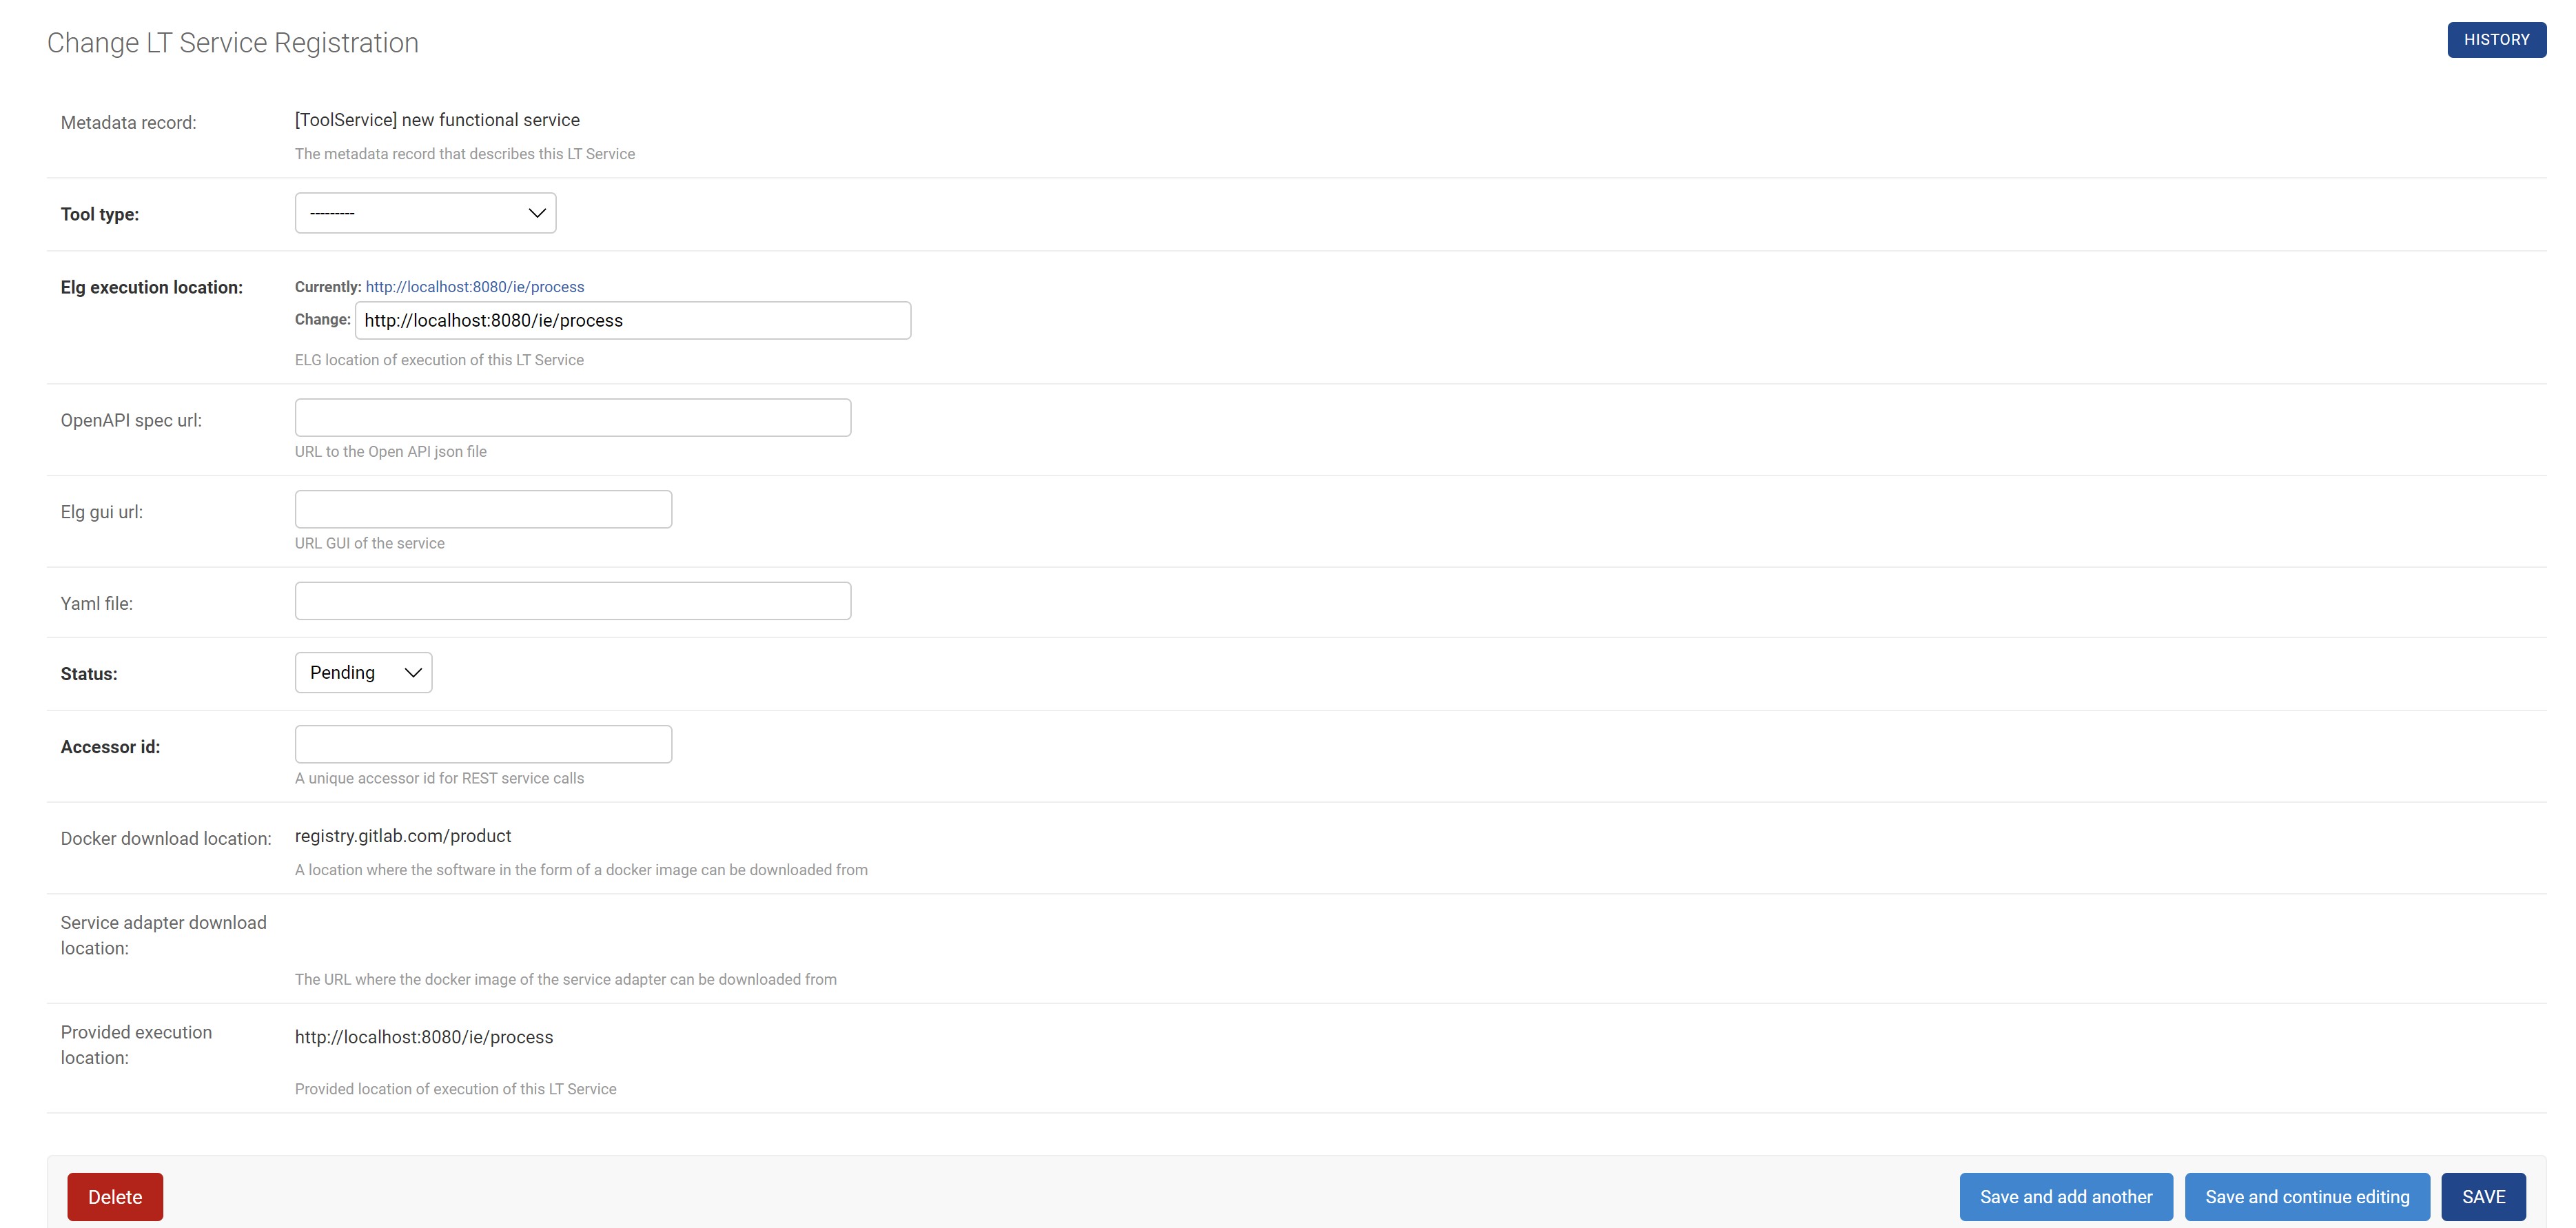
On this form:
select the
Tool typevalue (IE, MT, ASR, etc.), depending on the type of service you validate. The metadata of the service will help you decide which is the appropriate value; you can view the metadata record by clicking on the “VIEW ON SITE” button on the top right corner of the validation form.fill in the
ELG execution location; the value of this field depends on how the LT service is deployed into the cluster; e.g. knative vs. non-knative (kubernetes) service, which namespace was used, etc. As described here, this field follows this template:http://{k8s service name for the registered LT tool}.{k8s namespace for the registered LT tool}.svc.cluster.local{the path where the REST service is running at}. The{the path where the REST service is running at}part can be filled based on theexecutionLocationelement value of the metadata record. For this reason, theELG execution locationfield id pre-filled with theexecutionLocationvalue, so that you can change only the part that is required.set the
Elg gui url; use/dev/gui-ie/index-mt.htmlfor MT services,/dev/gui-udpipe/for dependency parsers,/dev/gui-ie/for IE tools,/dev/gui-tts/for TTS services, and/dev/gui-ie/index-asr.htmlfor ASRs. For specifying the text direction of the results in the try out UIs you should use the appropriate parameters; e.g. for ASRs use/dev/gui-ie/index-asr.html?dir=ltror/dev/gui-ie/index-asr.html?dir=rtlfor left-to-right and right-to-left directions, respectively. Similarly,/dev/gui-ie/?dir=ltror/dev/gui-ie/?dir=rtlfor IE services. For MT services usesrcdirandtargetdirparameters (e.g.index-mt.html?srcdir=ltr&targetdir=rtl) to specify the text direction of input/output. Depending on the value that you have set, the appropriate try out UI will be displayed in the respective tab of the landing page of the LT service. If there is no available/appropriate try out UI for the specific service or for any other reason you can disable/hide the try out UI tab by settingnoneto theElg gui urlfield.add the yaml file location in the respective field; it is the URL of the file that you have created in the previous step. This will help you easily locate in the future which yaml file specifies how the service is deployed into the cluster.
set the
Accessor idof the service. This id is unique and it is used for calling the service via the ELG public LT REST API. For a brief overview of the LT REST API, see this section.set the value of
statustocompletedand click on “Save” at the bottom right corner of the page in order to activate the service
Τest the deployed service: You have to use the Test/Try out tab of the service page (“VIEW ON SITE” will lead you there) or with any other available clients/tools. You must ensure that the service follows the ELG specifications and works as expected. For any issues that arise, you can use the specified slack channel to communicate with the provider of the service.
Now that the service is tested and integrated into ELG you can return to the technical/metadata validation form and set Technically valid to Yes.
Then you have to check the metadata of the service. As already mentioned you can see the record by clicking the “VIEW ON SITE” button. You are asked to check whether the values of the following elements are correct according to the description of the service:
function
input & output language(s)
annotation type(s): if the tool is of the IE type, it’s recommended that this element has values for the types of information annotated/extracted.
…
Note
More information to be provided later.
If you are satisfied, set the values of Metadata valid to Yes and click on “Save”.
If not, add your comments and recommendations at the Review comments field and set the value of Metadata valid to No and click on “Save”, as below:
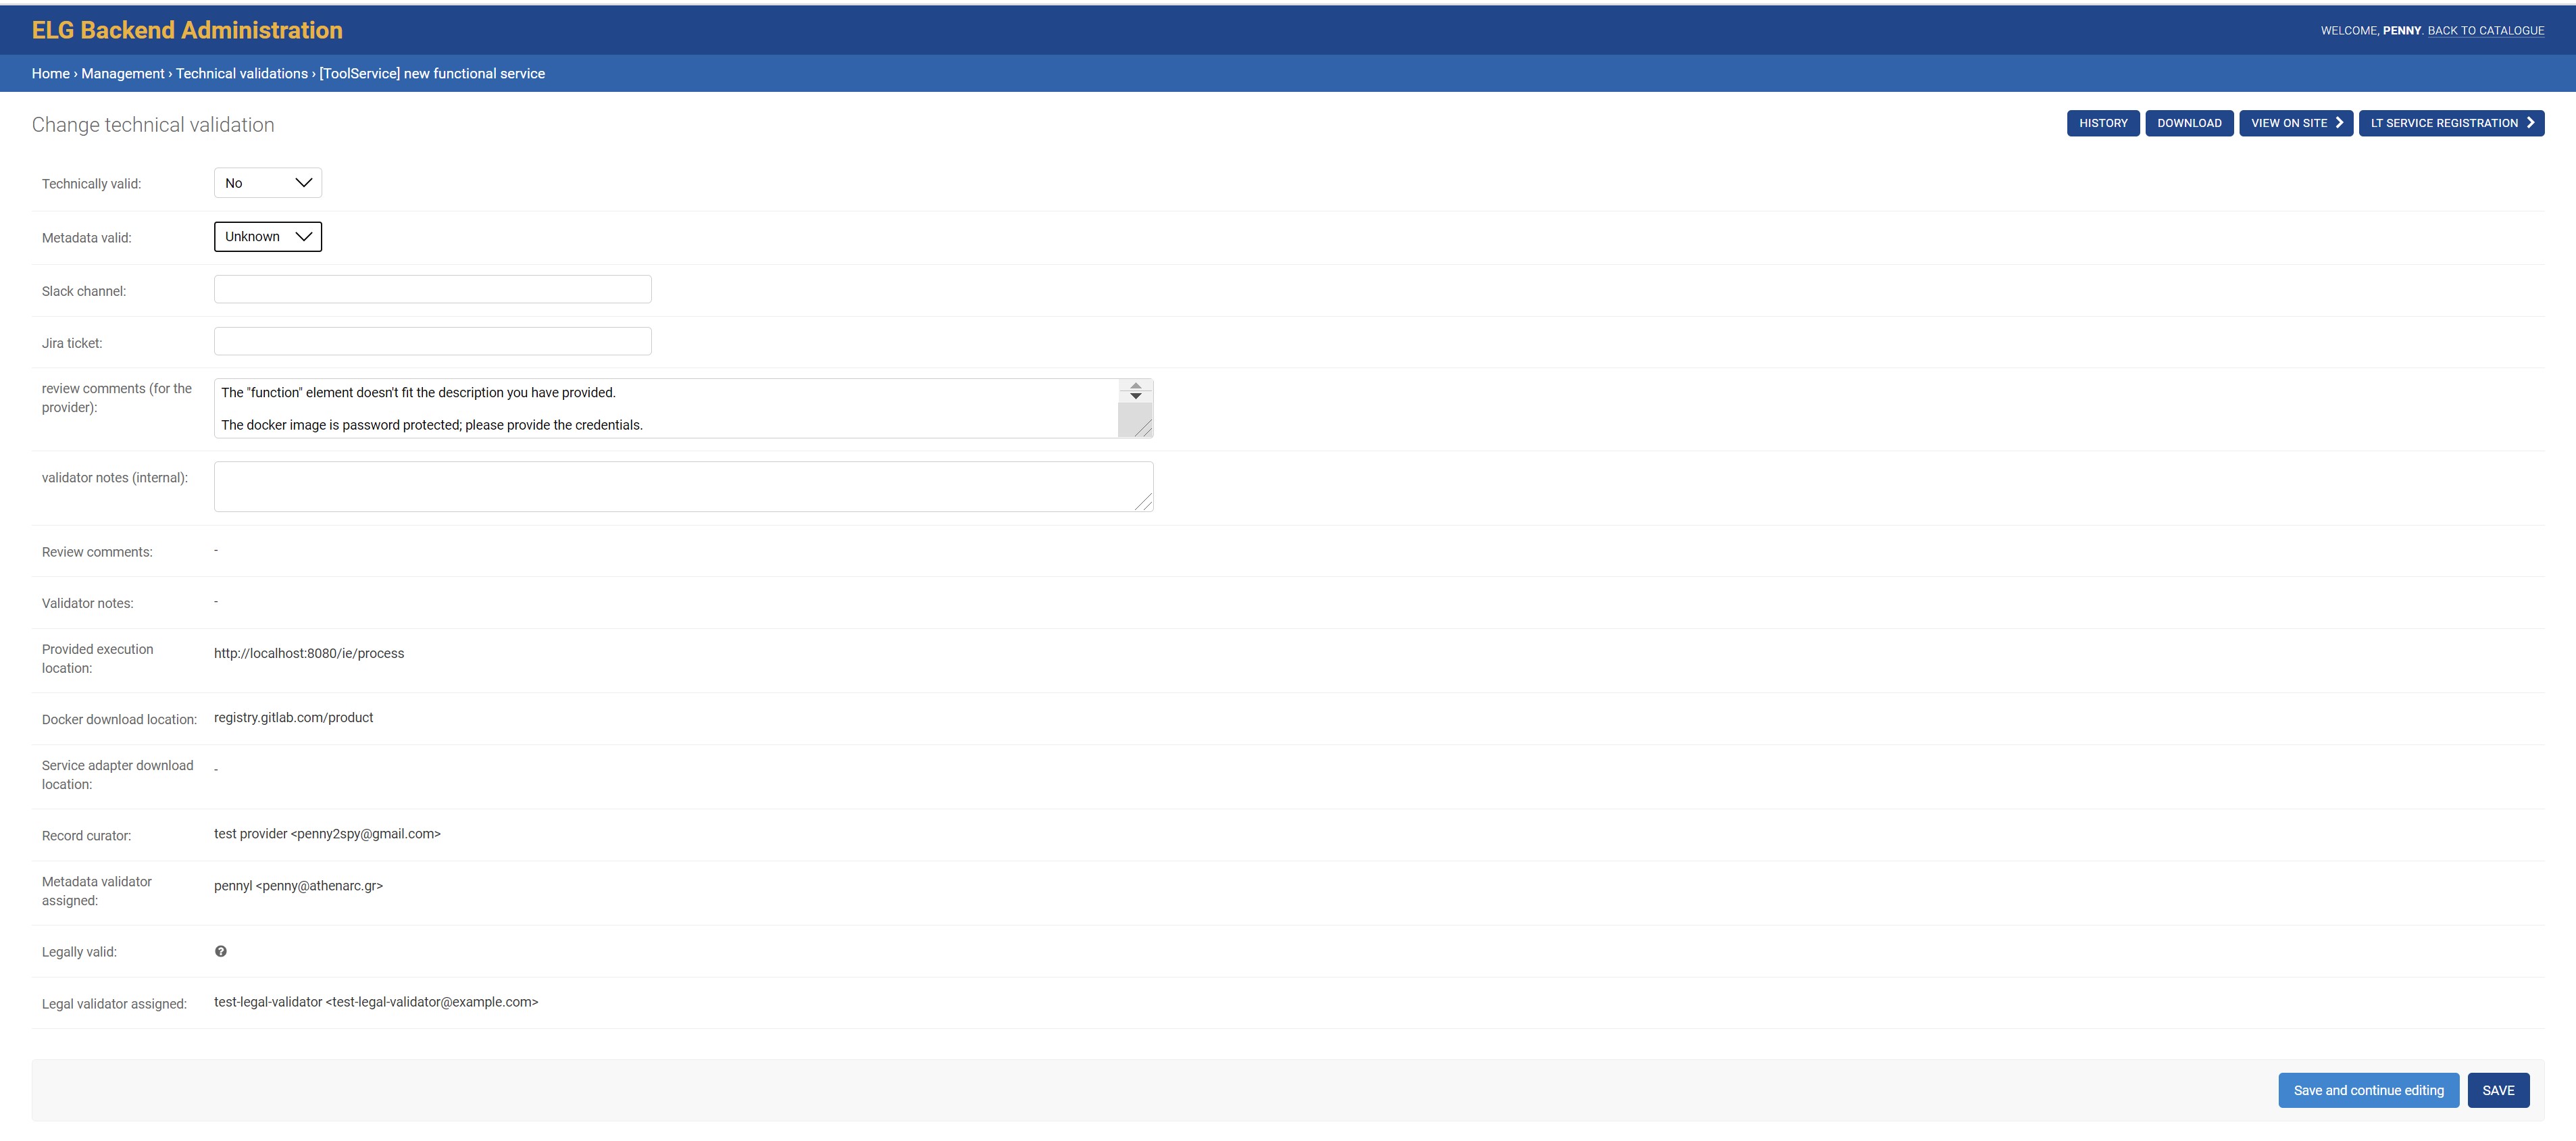
The provider will be notified by email (containing the review comments) in order to update the record. Once finished, the provider will re-submit the record for publication and you will be notified to perform the validation again.
Note
This section is under development and continuously updated with new information. In addition, the forms included in the current release are implemented with Django. New forms will be provided later.