Create an ELG compatible service
Example with the integration of a NER model from HuggingFace: https://huggingface.co/elastic/distilbert-base-cased-finetuned-conll03-english
0. Set up the environment
Before starting, we will set up a new environment. Let’s create a new folder:
mkdir distilbert-ner-en
cd distilbert-ner-en
And now a new environment:
conda create -n python-services-distilbert-ner-en python=3.7
conda activate python-services-distilbert-ner-en
We will also install the packages needed:
pip install torch==1.10.2 transformers==4.16.2
1. Have the model running locally
The first step is to have the model we want to integrate into ELG
running locally. In our case, we will firstly download the model using
git lfs (make sure to have it installed https://git-lfs.github.com/):
git lfs install
git clone https://huggingface.co/elastic/distilbert-base-cased-finetuned-conll03-english
And then create a simple python script that run the model (we can call
it use.py):
from transformers import pipeline

class DistilbertNEREn:

    nlp = pipeline("ner", "distilbert-base-cased-finetuned-conll03-english")

    def run(self, input_str):
        return self.nlp(input_str)
We can have a try using the Python Interpreter:
>>> from use import DistilbertNEREn
>>> model = DistilbertNEREn()
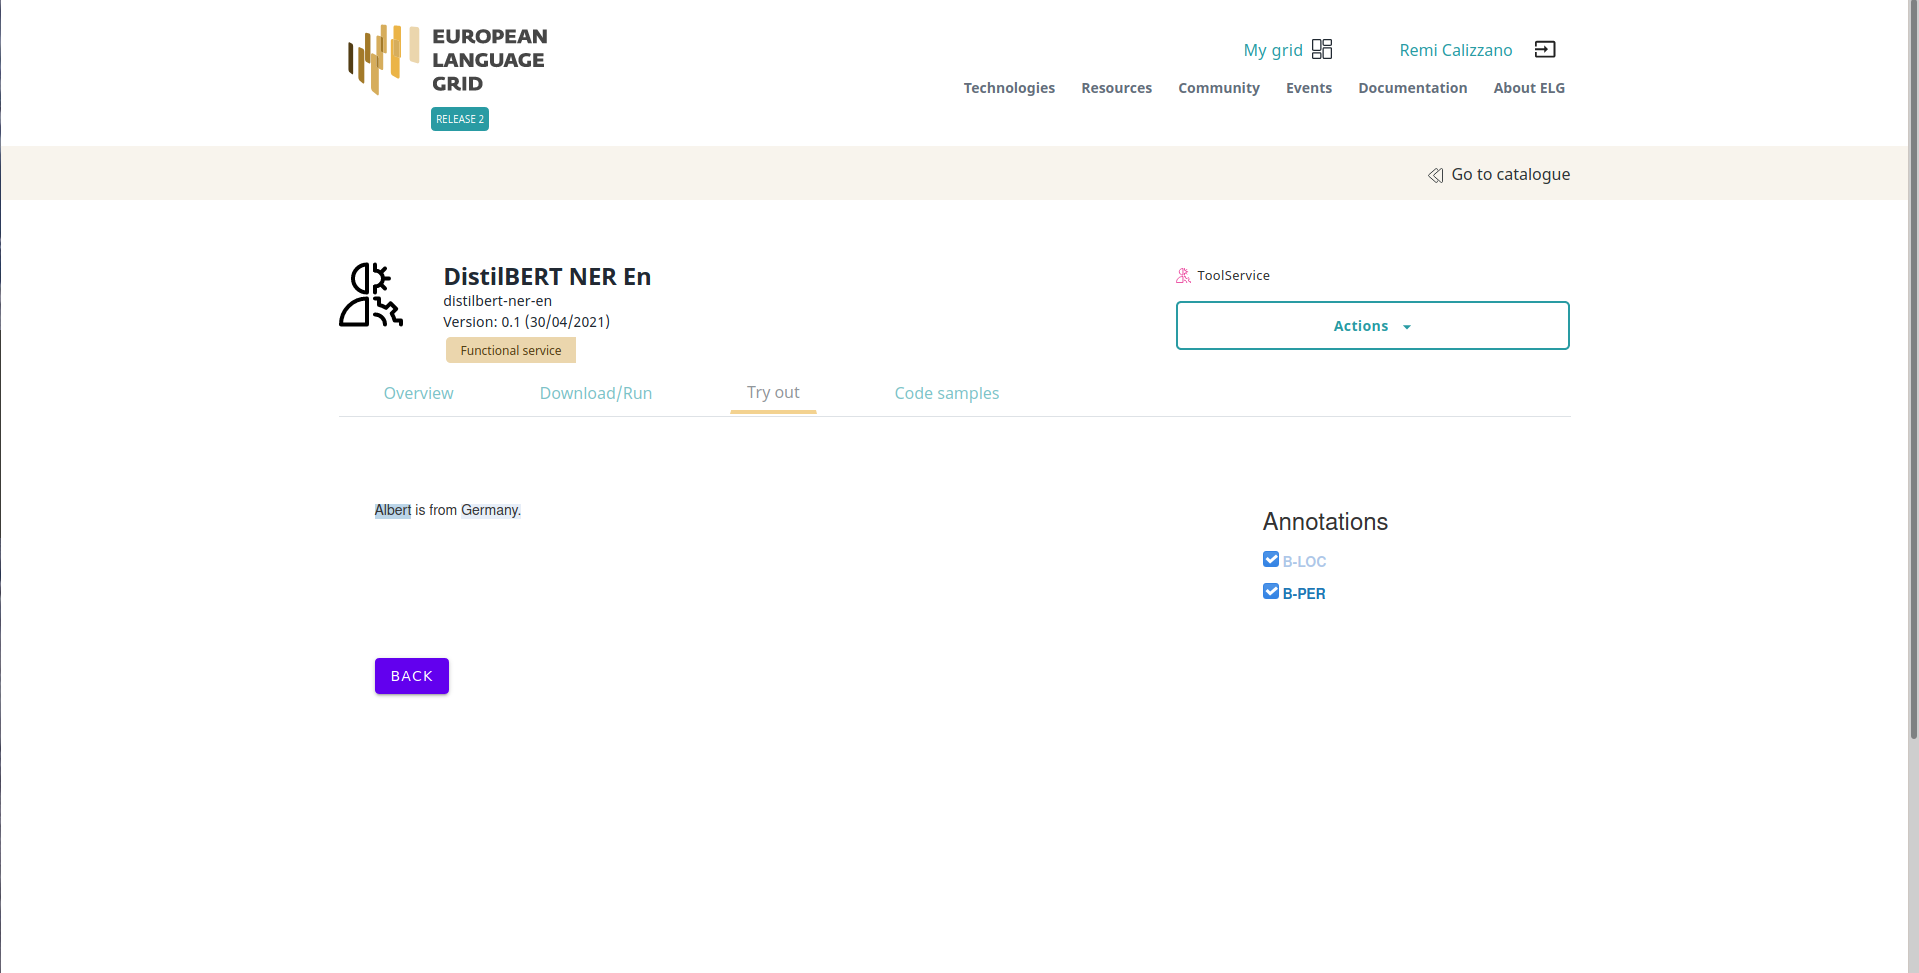
>>> model.run("Albert is from Germany.")
[{'word': 'Albert', 'score': 0.9995226263999939, 'entity': 'B-PER', 'index': 1}, {'word': 'Germany', 'score': 0.9997316598892212, 'entity': 'B-LOC', 'index': 4}]
The model is working well but is not yet ELG compatible.
2. Create an ELG compatible service
To create the ELG compatible service, we will use the ELG Python SDK installable through PIP (we include the flask extra to use the FlaskService class):
pip install 'elg[flask]'
Then we need to make our model inherits from the FlaskService class
of elg and uses ELG Request and Response object. Let’s
create a new python file called elg_service.py:
from transformers import pipeline

from elg import FlaskService
from elg.model import AnnotationsResponse

class DistilbertNEREn(FlaskService):

    nlp = pipeline("ner", "distilbert-base-cased-finetuned-conll03-english")

    def convert_outputs(self, outputs, content):
        annotations = {}
        offset = 0
        for output in outputs:
            word = output["word"]
            score = output["score"]
            entity = output["entity"]
            start = content.find(word) + offset
            end = start + len(word)
            content = content[end - offset :]
            offset = end
            if entity not in annotations.keys():
                annotations[entity] = [
                    {
                        "start": start,
                        "end": end,
                        "features": {
                            "word": str(word),
                            "score": str(score),
                        },
                    }
                ]
            else:
                annotations[entity].append(
                    {
                        "start": start,
                        "end": end,
                        "features": {
                            "word": str(word),
                            "score": str(score),
                        },
                    }
                )
        return AnnotationsResponse(annotations=annotations)

    def process_text(self, content):
        outputs = self.nlp(content.content)
        return self.convert_outputs(outputs, content.content)

flask_service = DistilbertNEREn("distilbert-ner-en")
app = flask_service.app
We also need to initialize the service at the end of the file and create
the app variable.
We can now test our service from the Python Interpreter to make sure that everything is working:
>>> from elg_service import DistilbertNEREn
>>> from elg.model import TextRequest
>>> service = DistilbertNEREn("distilbert-ner-en")
>>> request = TextRequest(content="Albert is from Germany.")
>>> response = service.process_text(request)
>>> print(response)
type='annotations' warnings=None features=None annotations={'B-PER': [Annotation(start=0, end=6, sourceStart=None, sourceEnd=None, features={'word': 'Albert', 'score': 0.9995226263999939})], 'B-LOC': [Annotation(start=15, end=22, sourceStart=None, sourceEnd=None, features={'word': 'Germany', 'score': 0.9997316598892212})]}
>>> print(type(response))
<class 'elg.model.response.AnnotationsResponse.AnnotationsResponse'>
Our service is using an ELG Request object as input and an ELG
Response object as output. It is therefore ELG compatible.
3. Generate the Docker image
To generate the Docker image, the first step is to create a Dockerfile.
To simplify the process, you can use the elg CLI and run:
elg docker create --path ./elg_service.py --classname=DistilbertNEREn \
      --required_folders=distilbert-base-cased-finetuned-conll03-english \
      --requirements=torch==1.10.2 --requirements=transformers==4.16.2 \
      --base_image=python:3.7
It will generate the Dockerfile but also a file called
docker_entrypoint.sh used to start the service inside the container,
and a requirements.txt file.
Special note for PyTorch
The default PyTorch packages from PyPi are extremely large (over 700MB) as they are compiled with support for many different GPU architectures. Since the ELG platform currently supports only CPU-based inference you can generate a much smaller image by using the CPU-only builds of torch that are available from PyTorch’s own website:
elg docker create --path ./elg_service.py --classname=DistilbertNEREn \
      --required_folders=distilbert-base-cased-finetuned-conll03-english \
      --requirements="-f https://download.pytorch.org/whl/torch_stable.html" \
      --requirements=torch==1.10.2+cpu --requirements=transformers==4.16.2 \
      --base_image=python:3.7
We can now build the Docker image (here you need to replace with the name of your docker registry) (we use –platform linux/amd64 to make sure the resulting image will be compatible with the ELG cluster):
docker build --platform linux/amd64 -t airklizz/distilbert-ner-en:v1 .
It will generate a Docker image locally that we can test using the local installation feature of the ELG Python SDK (see the following session to have more information) as follows:
Generate the local installation configuration files
elg local-installation docker \
    --image airklizz/distilbert-ner-en:v1 \
    --execution_location http://localhost:8000/process \
    --name ner-elg-service \
    --gui
Start the local installation
cd elg_local_installation && docker-compose up
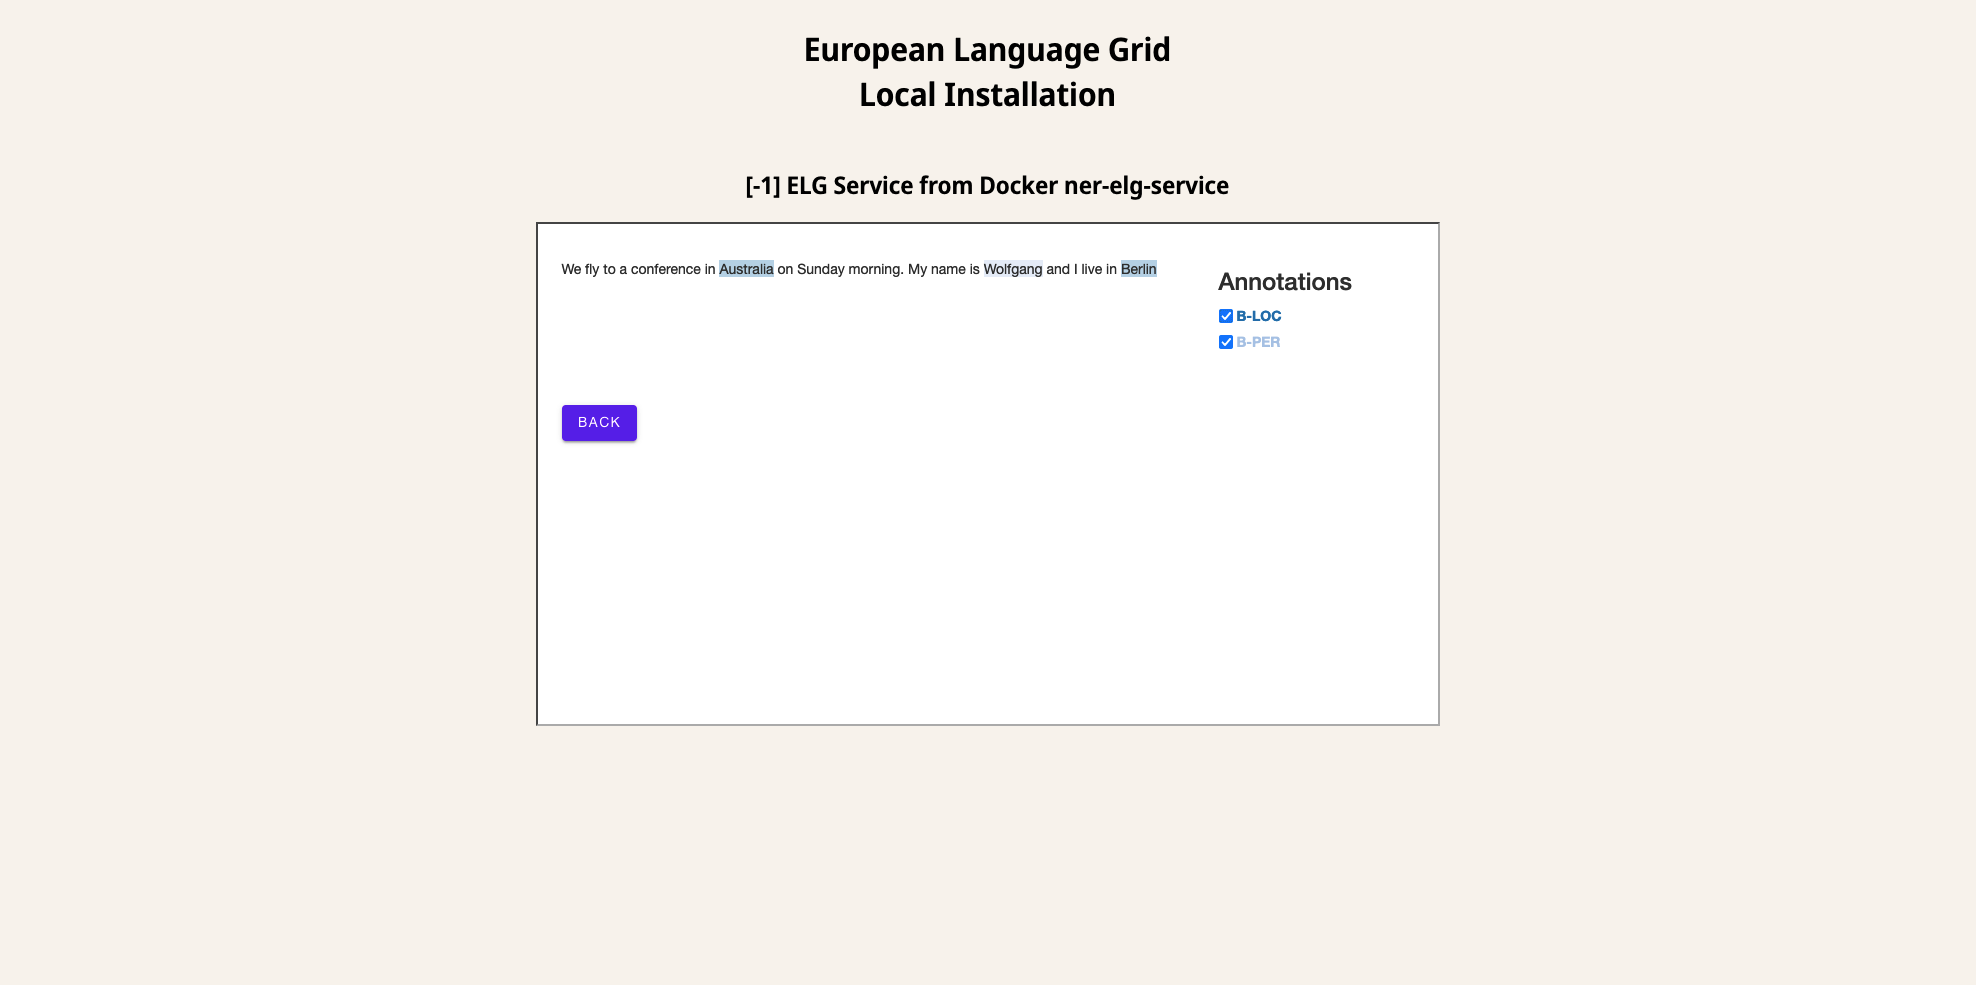
The local intallation takes a couple of seconds to start and once it done, you should be able to test the service directly from the GUI accessible at http://localhost:8080.
The image is working and is compatible with ELG so we can push it on Docker Hub (or the Docker registry of you choice):
docker push airklizz/distilbert-ner-en:v1
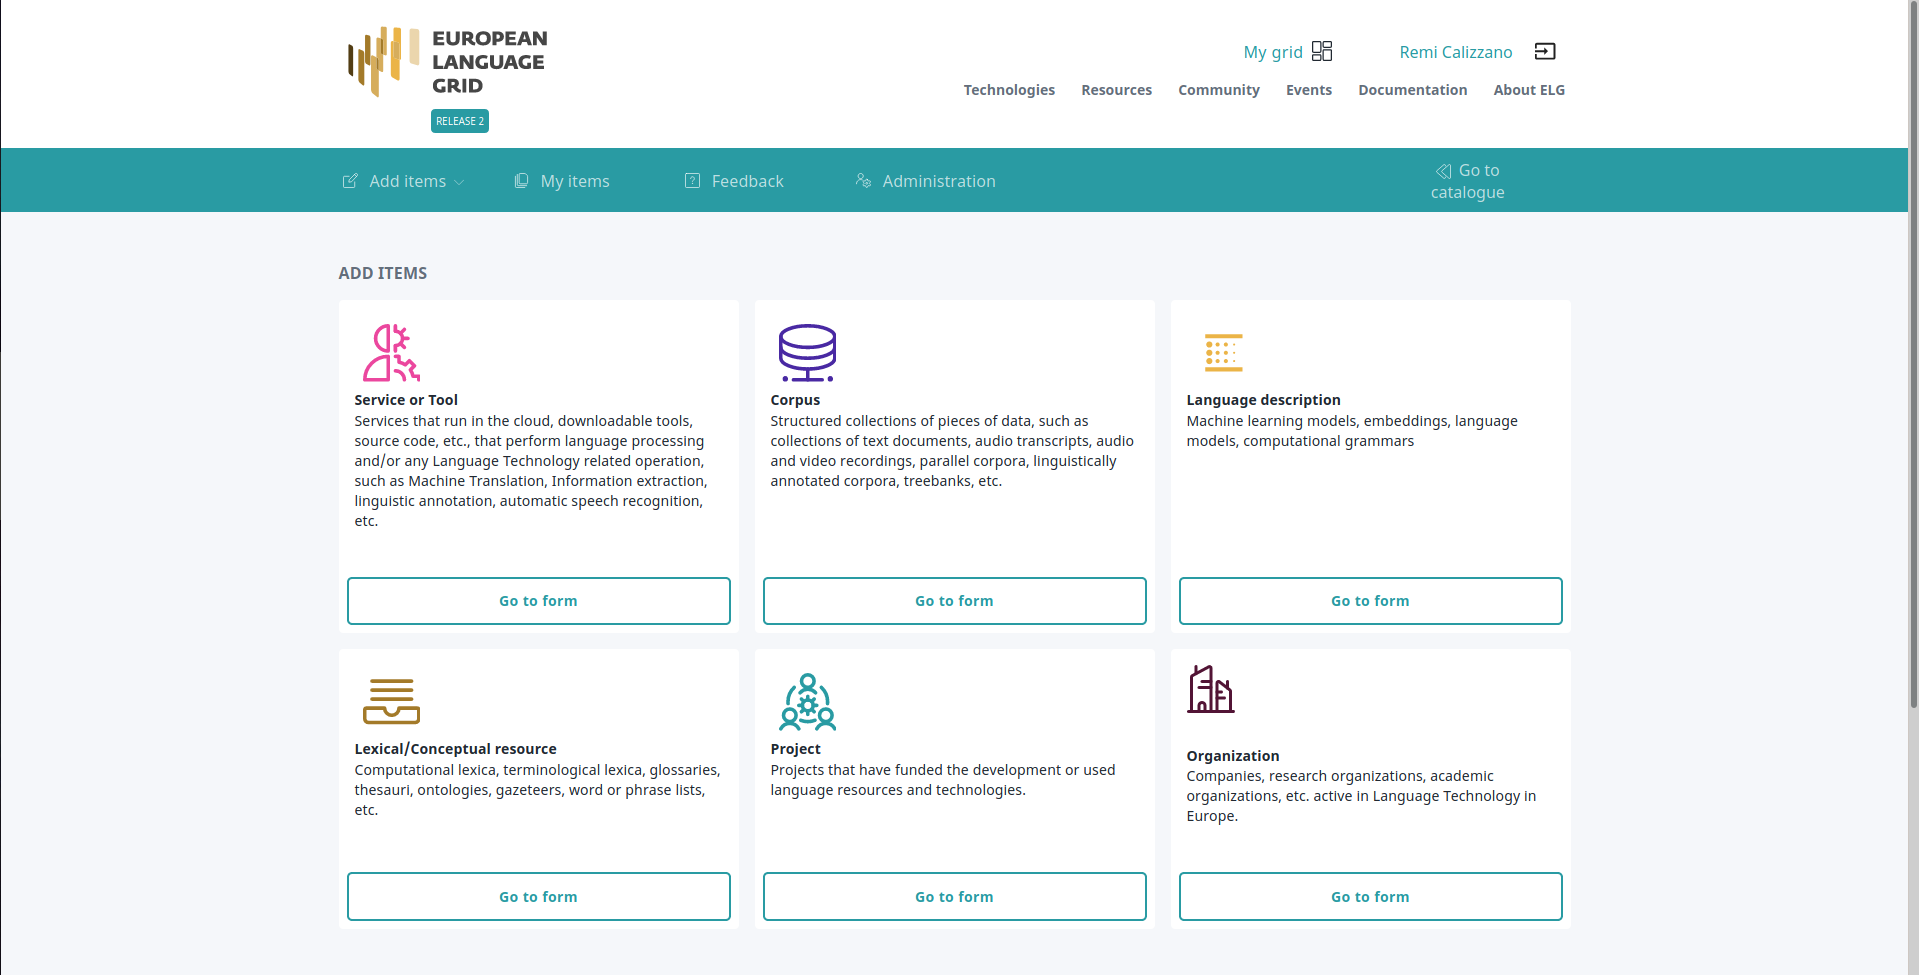
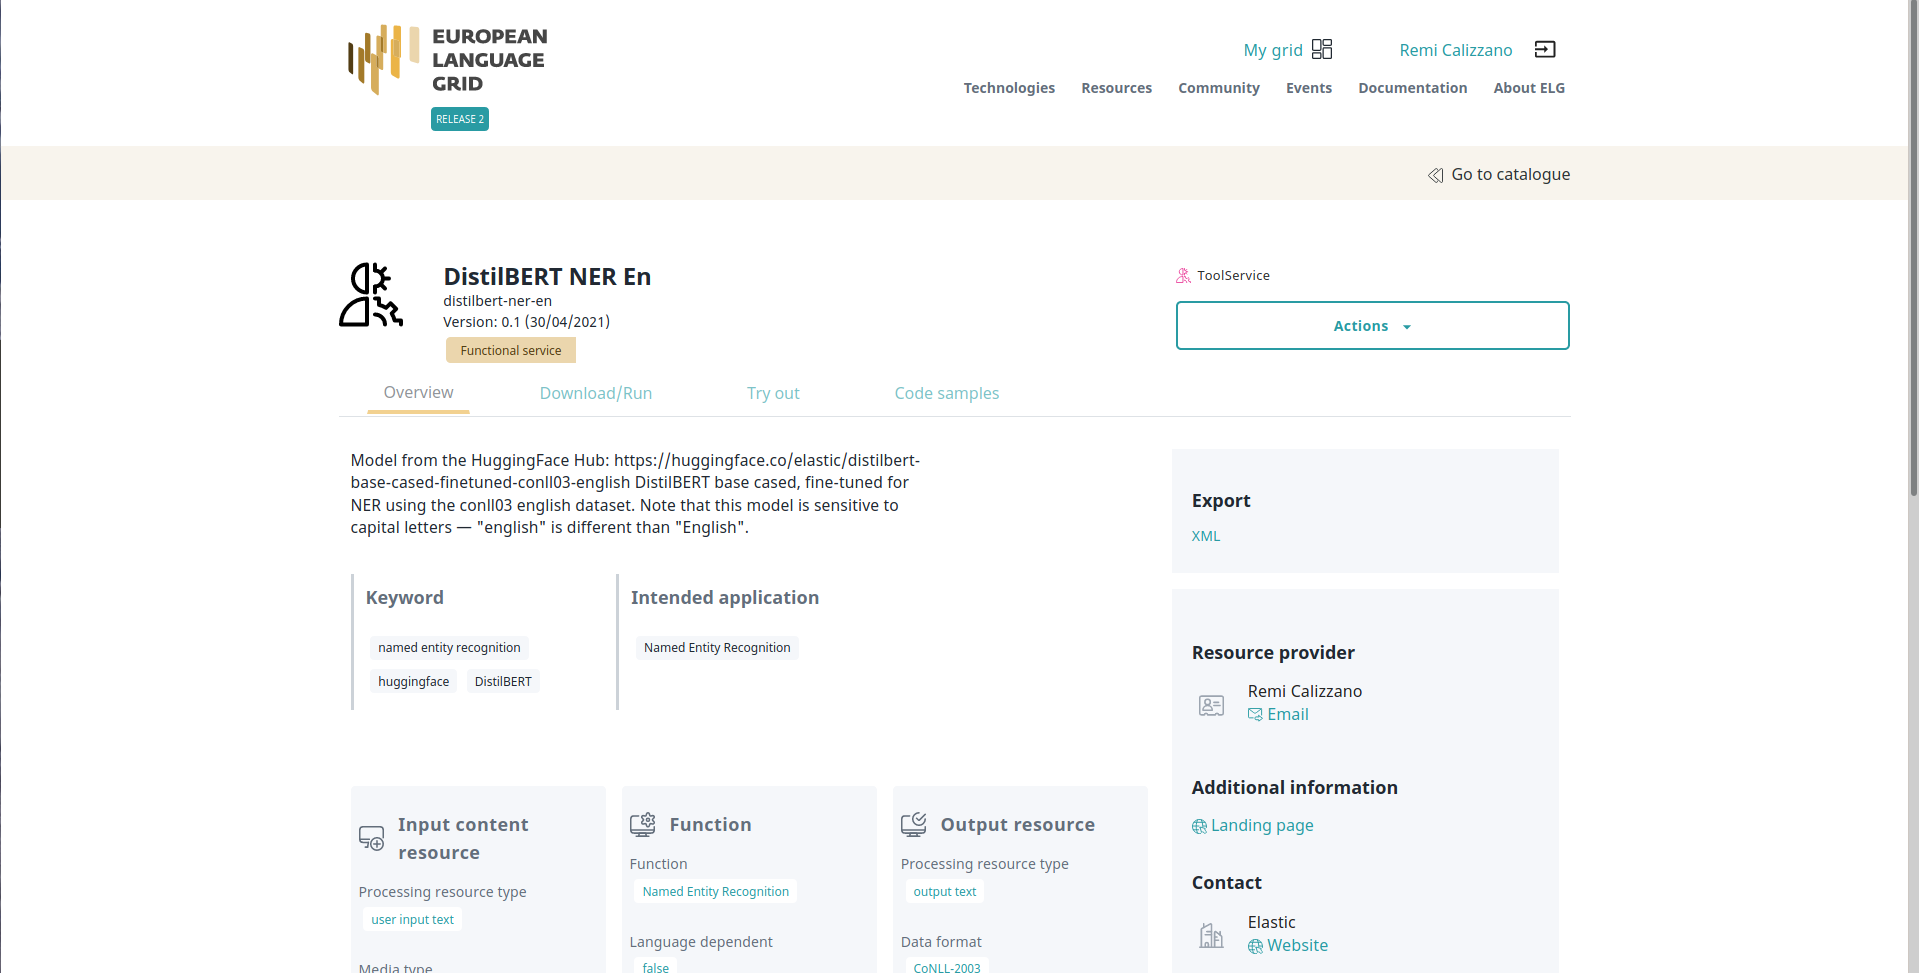
4. Create a new service on ELG
You have to go to the ELG, have a provider account and then you can add a new ‘Service or Tool’.
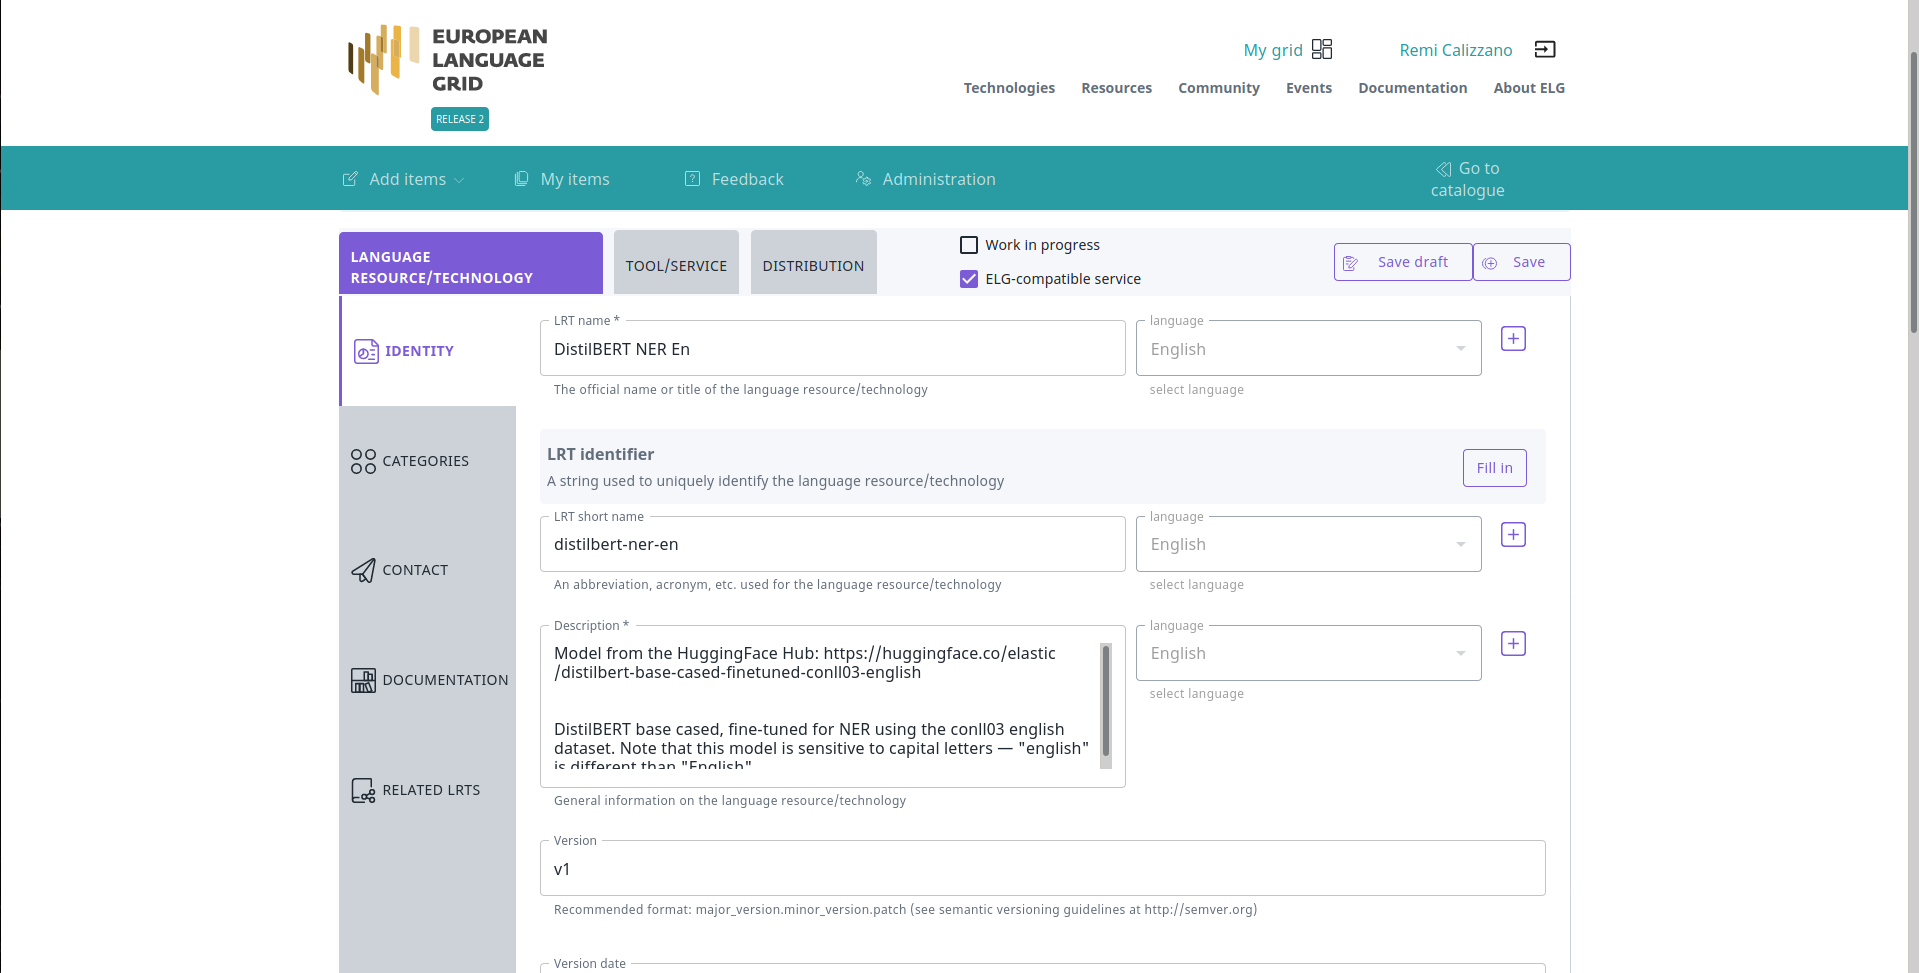
You have to fill all the information needed.
And then save and create the item. You will be redirect to the landing page of the service.
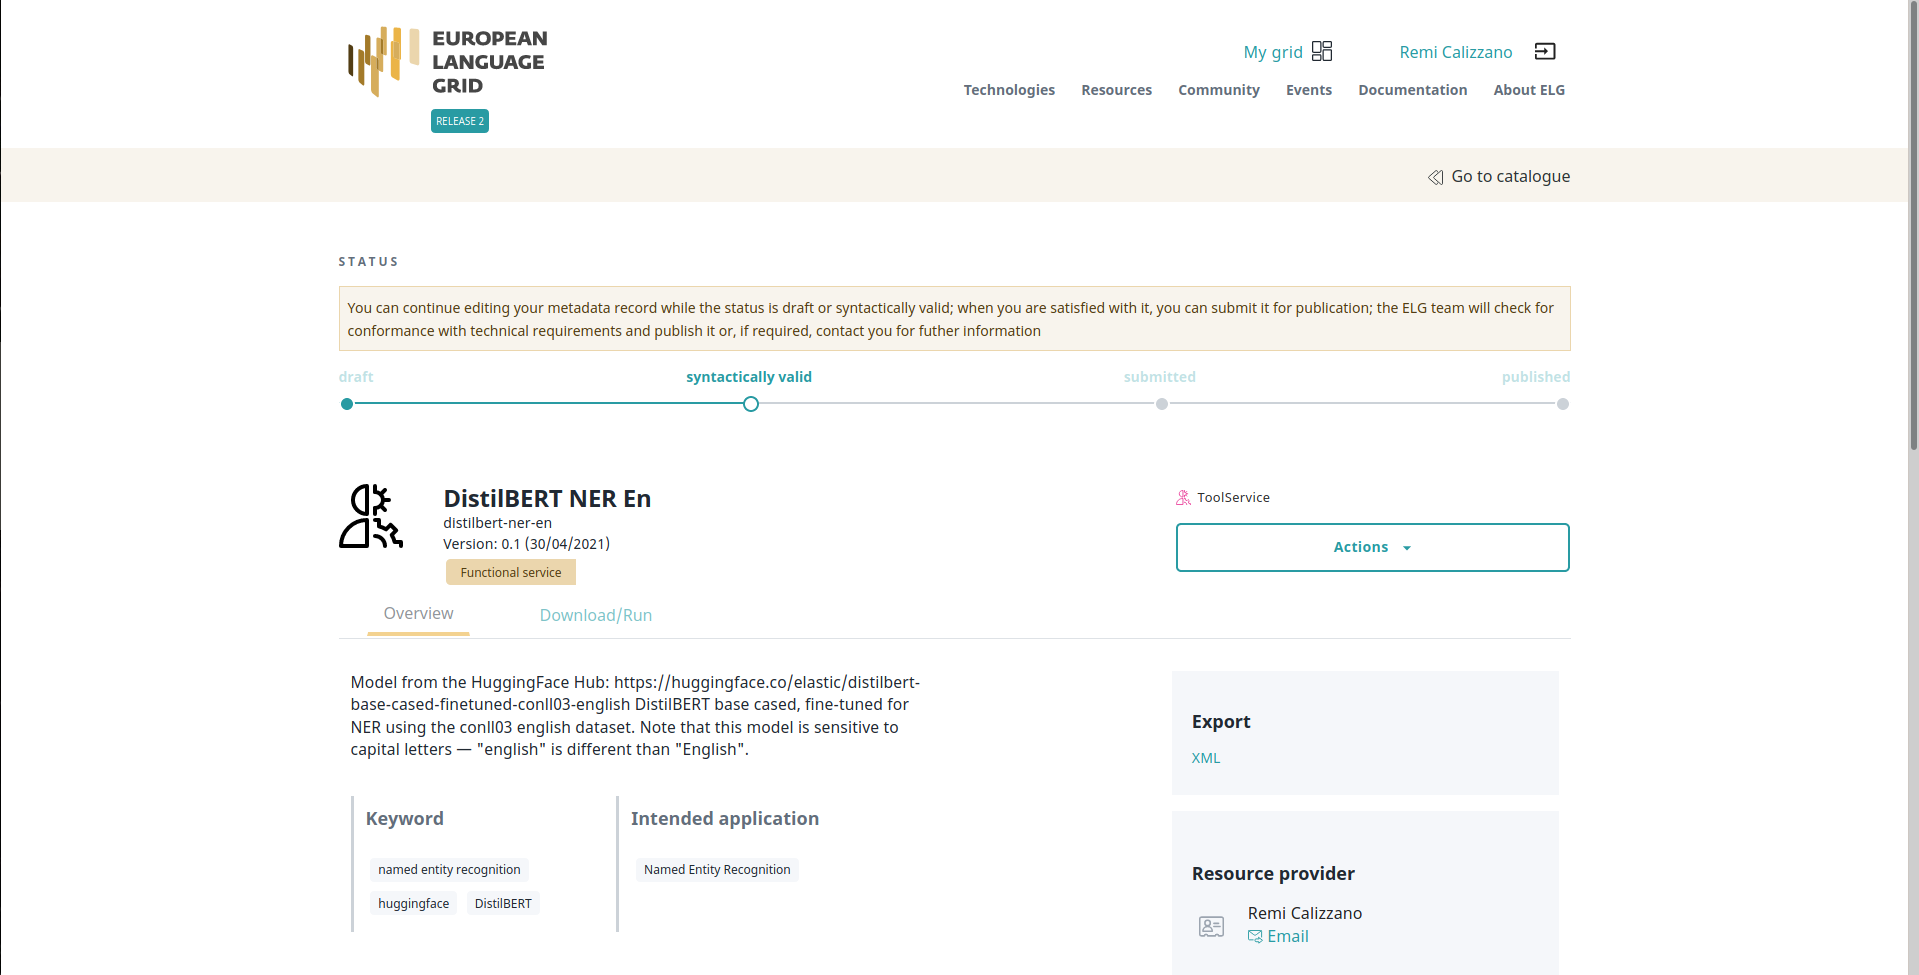
When the landing page looks good to you, you can submit the service for publication through the ‘Actions’ button.
At that step, the ELG technical team will deploy the Docker image of your service into the ELG Kubernetes cluster. Once it done, the service is tested and published.
The service is now publicly available on ELG.
 And can be run through the UI:
 or through the Python SDK (you need to find the id of the service,
here: 6366):
or through the Python SDK (you need to find the id of the service,
here: 6366):
from elg import Service

service = Service.from_id(6366)
response = service('Albert is from Germany.')
print(response)
# type='annotations' warnings=None features=None annotations={'B-PER': [Annotation(start=0, end=6, sourceStart=None, sourceEnd=None, features={'word': 'Albert', 'score': 0.9995226263999939})], 'B-LOC': [Annotation(start=15, end=22, sourceStart=None, sourceEnd=None, features={'word': 'Germany', 'score': 0.9997316598892212})]}